
Wiring Flexwatt is really a simple process, but for those having never done it, it can be somewhat confusing just trying to follow written instructions.
I have put this page together to demonstrate how to wire flexwatt, and have included pictures to better illustrate what is involved.
Flexwatt needs to be used in combination with a dimmer switch or thermostat. This is very important, see this page for details on this issue.
You can click on any of the pictures on this page to see a larger version.
Please note, flexwatt can be purchased at the Bean Farm.
What you will need
Flexwatt comes in widths of 3", 4", and 11", and you can cut it in one foot increments. I have heard of a wider width being available, but I've never seen any myself.
You will need a length of Flexwatt, two metal connectors, and an electrical cord, for each piece you need to make.

A two foot length of 11" wide flexwatt.
A metal connector.-

A 6' home extention cord, $0.77 at Wal-Mart.
You will also need a pair of pliers, a pair of wire cutters, some wire strippers or a sharp knife, and some electrical tape depending on how you decide to insulate the connections.
Getting Started
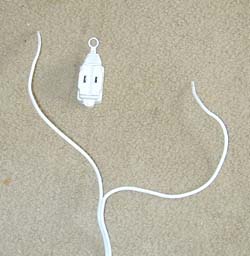
First, we need to get rid of the female end of the extention cord, since it is not used at all. The female end is the one that does not plug into the wall. Just clip the female end off and throw it away.
When you look at the wire, you'll notice that it is actually two wires stuck together. Take a sharp knife and carefully cut directly between the two wires to seperate them. Don't worry about exposing the wire, they are insulated seperately.
Pull the wires apart for a length of 10-12 inches.

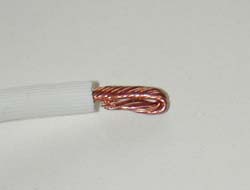
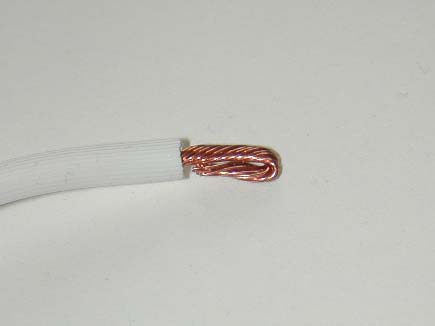
Now strip the insulation back on the end of the wire. I like to strip it back twice as long as needed and then fold it double as shown in the picture to the left. If soldering the connections, folding the wire is not necessary.
This makes the wire thicker and gives a better hold when attaching it to the metal connector. Repeat the process with the other wire.
Making the connections
Now you will attach the wire to the metal clip. Just stick the exposed wire into the metal ring on the back of the clip and use pliers to crimp the ring down on the wire.
Make sure you get it good and tight, you don't want the wire to slip out of the ring.
Do the same with the second connector.
Next you will attach the metal clips to the heat tape.
Down each side of the flexwatt, you will see two straight metal strips, these conduct the electricity through the tape and you will attach the connectors to them.
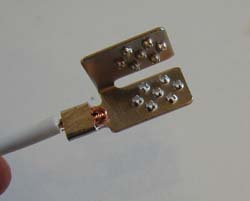
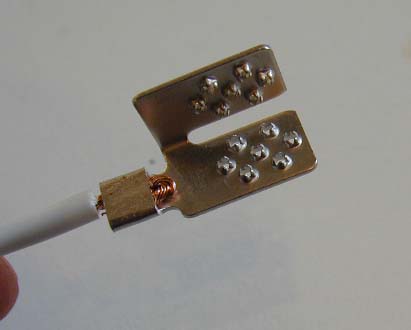
Slide the connector over the tape so that the flexwatt is in the slot and the connector is positioned under the metal strip as shown in the top picture to the right.
Then fold the top piece of the connector down over the metal strip and crimp it tightly with pliers. This will cause the teeth on the connector to pierce the plastic covering of the flexwatt and allow the electricity to pass to the metal strips.
Do the same with the other connector on the other side of the heat tape.


Both wires attached
Another method of connecting the wires, which I prefer, is to solder them directly to the heat tape.
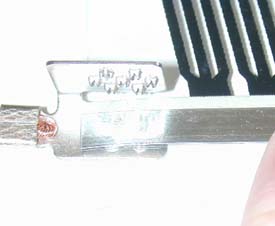
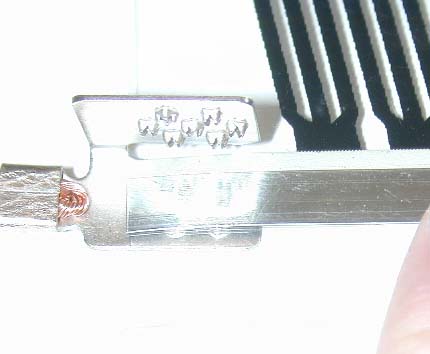
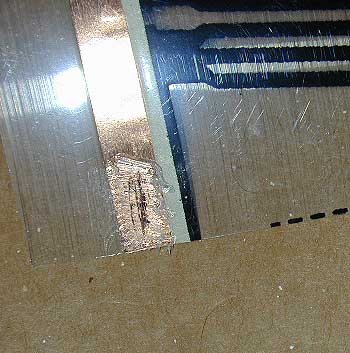
First you need to remove the plastic covering from a small section of the copper strip. You can do this either with a razor blade, or as I do, by rubbing it quickly with the hot soldering iron to melt it away.
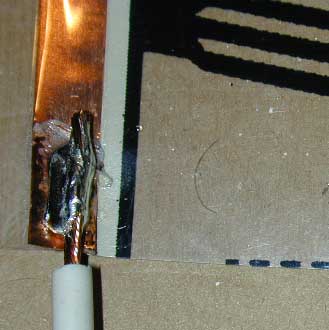
Next you will strip the wire normally and solder it to the exposed section of the copper strip. The best way I have found to do this is to apply some solder to the strip and lay the wire in it before it solidifies. Then covering the top of the wire with solder.
Be careful not to get the heat tape too hot or the copper strip will seperate from the plastic on the other side and lose some strength.
I would note at this point that if the cage is to house large snakes such as adult boas then I do not recommend the soldering method. I have had instances of big boas working until they got their way under the heat tape or the wires then actually breaking the connection loose by putting too much stress on the wires. For these cases I suggest going with the clips for strength on both sides of the connection and securing the flexwatt to the floor of the cage very well.

Insulating the Connections
At this point, if you were to plug the heat tape in, it would heat up normally, but the metal connectors would be conducting electricity and would result in a 110 volt shock if you were to touch them.
sflex_tape.jpg For this reason, the connectors must be insulated. There are a few ways to do this. There are platic insulators made especially for this purpose that can be obtained when you purchase the heat tape. I don't use these myself, they interfere with how I use the heaters, so I don't have any pictures available of them. They are obvious how they work though if you decide to use them. Each insulator comes in two halves, and these pieces just snap over the metal connectors preventing anything from touching them.
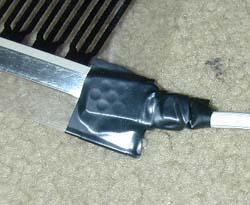
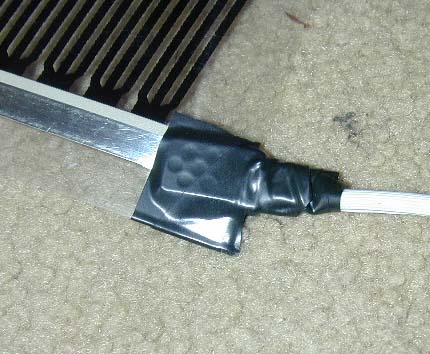
sflex_end.jpg Another method, the one I used for these pictures is to just cover the connectors with electrical tape. This serves the same purpose and is less bulky than the plastic insulators. If you use this method be sure no metal on the connectors is showing anywhere.
A third possibility is to cover the connectors with silicon. This is particularly well suited for extremely humid setups where the connectors are at risk of becoming physically wet.
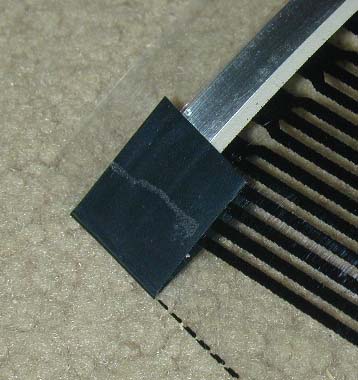
It is also a good idea to put a piece of tape over the opposite ends of the metal strips just as a safety precaution. It is unlikely that there would be a shock from the open end, but the possibility is definately there, so tape them over just to be safe.
If you chose to solder the connections then the plastic insulators cannot be used at all, just tape them with electrical tape as you would with the metal clips.
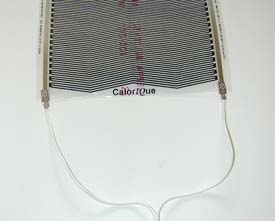
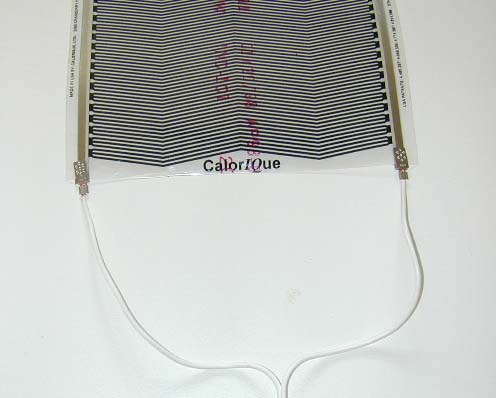
That's it! You now have a finished piece of flexwatt ready for use.

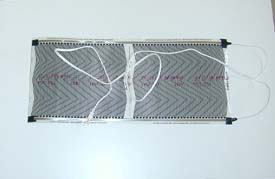
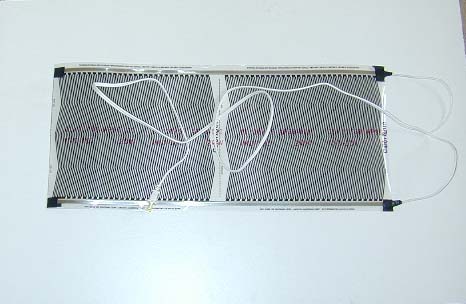
The finished heater